Painting with a Twist has transformed the way people experience art by making painting fun, social, and accessible to everyone. Whether you’re an experienced artist or someone who has never picked up a paintbrush, these guided painting events provide a relaxing environment where creativity takes center stage.
A Creative Experience for Everyone
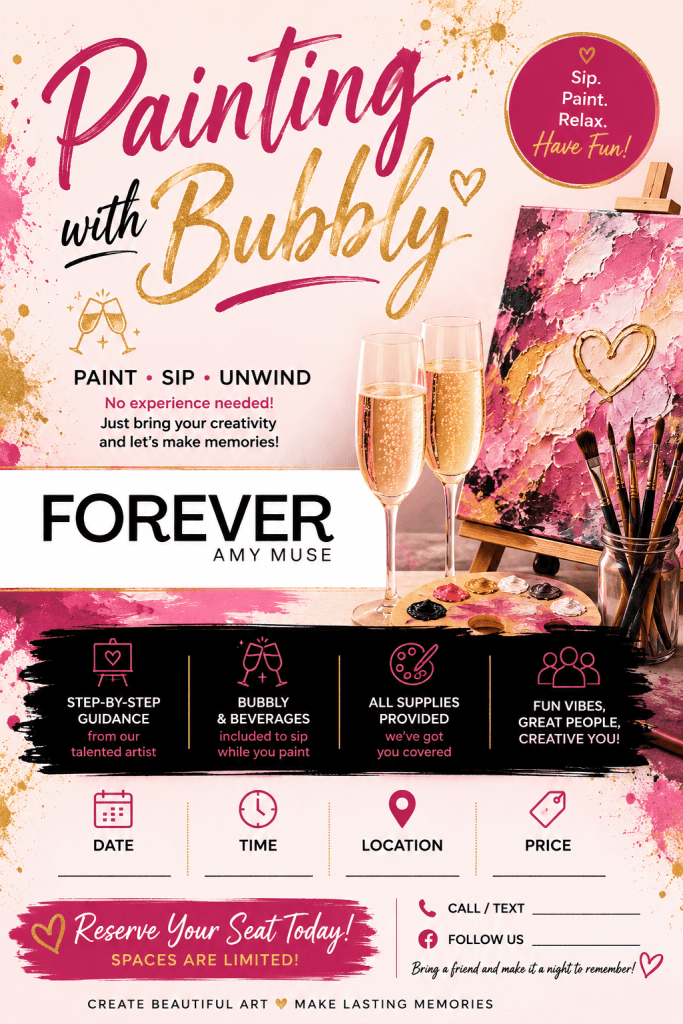
One of the greatest aspects of Painting with a Twist is that no artistic experience is required. Professional instructors guide participants through each step of creating a featured painting, making it easy for anyone to complete a piece they can proudly display at home. Every brushstroke becomes part of a fun journey rather than a test of artistic ability.
More Than Just a Painting Class
Painting with a Twist is about more than creating artwork—it’s about making memories. Friends gather for girls’ nights, couples enjoy unique date nights, families celebrate birthdays, and coworkers build stronger relationships through creative team-building events. The relaxed atmosphere encourages conversation, laughter, and self-expression.
The Benefits of Painting
Painting offers many benefits beyond producing a finished canvas. Creative activities can help reduce stress, improve focus, and promote mindfulness. Spending a few hours immersed in colors and creativity allows participants to disconnect from daily pressures and enjoy the present moment.
Painting also builds confidence. Many first-time painters are surprised by what they can accomplish with a little guidance. Completing a painting often inspires people to continue exploring their artistic talents.
A Perfect Event for Any Occasion
Painting with a Twist events are ideal for:
- Date nights
- Birthday celebrations
- Bachelorette parties
- Family gatherings
- Corporate team-building events
- Holiday parties
- Fundraisers
- Community events
Many studios also offer private parties, children’s classes, and themed events throughout the year, making it easy to find an experience that fits any occasion.
Express Yourself
Every painting is unique because every artist brings their own style and personality to the canvas. Participants are encouraged to personalize colors, backgrounds, and details, resulting in artwork that reflects their individual creativity.
Creating Lasting Memories
One of the most rewarding parts of Painting with a Twist is taking home a finished masterpiece. The artwork serves as a reminder of an enjoyable experience shared with friends, family, or coworkers. Long after the paint has dried, the memories remain.
Contact
ForeverAmymuse@gmail.com
409.599.3085